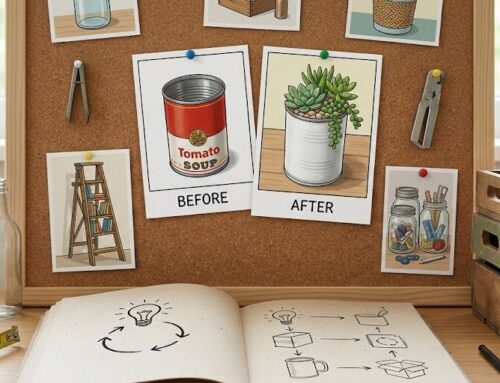
When you donate items, thrift stores often need to clean them before reselling. Many donations arrive in poor condition – up to 90% are rejected due to dirt, odors, or damage. Sanitizing not only ensures safety for shoppers but also helps these items support community programs effectively. Here’s how thrift stores like City Thrift prepare donations for reuse:
- Inspect and Sort: Items are checked for damage, odors, pests, or safety risks. Anything unsalvageable is discarded or recycled.
- Vacuum and Dust: Furniture and fabrics are vacuumed to remove debris and pests, while fragile items are carefully wiped.
- Pre-Treat and Soak: Washable items are soaked in cleaning solutions to tackle stains and odors.
- Steam or Heat: High temperatures disinfect items like upholstery and clothing without chemicals.
- Wash, Deodorize, and Dry: Final cleaning ensures items are fresh, dry, and ready for resale.
Step 1: Inspect and Sort Items
The first step in preparing donations for reuse is a careful inspection to ensure items are safe, clean, and in good condition. Staff members examine clothing for issues like holes, tears, heavy wear, missing buttons, or broken zippers. Household items and furniture are checked for cracks, defects, mold, or mildew. Small appliances and electronics are tested to confirm they work properly. This initial review lays the groundwork for a more thorough evaluation of each item’s quality.
Check Clothing and Household Items
Each item is inspected for damage, contamination, or unpleasant odors. Staff look out for signs of pest infestations (like bed bugs or lice), strong odors from sweat, smoke, or chemicals, and stains that can’t be cleaned. Any item showing signs of pests, bacterial contamination, or other hygiene concerns is immediately rejected.
A simple question, often called the “Friend Test“, helps guide decisions: “Would I give this to a friend?” If the answer is no, the item is set aside for disposal or recycling. Items labeled “Dry Clean Only” are also rejected to avoid costly cleaning fees. Anything that doesn’t meet these standards is promptly removed from the process.
Remove Items That Can’t Be Repaired
Items with serious damage, mold, or safety issues are separated immediately. Disposing of these items can lead to extra costs, which diverts resources from other community programs. Products that have been recalled, like certain baby cribs or car seats, are not accepted due to legal restrictions. Used undergarments and socks are also rejected unless they’re brand new and still in their original packaging.
Surprisingly, donation bags sometimes contain hazardous materials, making it essential for staff to handle everything with gloves for safety. Only items that pass this rigorous inspection move on to the next stage of sanitization.
Step 2: Vacuum and Dust Surfaces
After the initial inspection, the next step is all about cleaning – removing dust, debris, and even pests that might be lurking. This process is crucial because donated items can sometimes carry pests like bed bugs, which are notorious for surviving up to a year without feeding. Here’s how the cleaning process is tackled.
Vacuum Furniture and Upholstery
Vacuuming is done outdoors whenever possible to keep pests from sneaking into the facility. Cushions are removed, and vacuum attachments are used to get into every nook and cranny – edges, crevices, and even under furniture frames. A flashlight comes in handy here, helping to spot telltale signs of pests, like stains or cast skins in corners and joints.
“If you see a dirty spot on a piece of furniture, be sure to examine it closely for bed bugs.” – Gina Peek, Assistant Professor & Extension Housing and Consumer Specialist, Oklahoma State University
Once vacuuming is done, the vacuum cleaner is emptied immediately into an outdoor trash bin to prevent any pests or debris from spreading. For hard surfaces like wood or metal frames, the process doesn’t stop at vacuuming – these are scrubbed with soapy water to ensure thorough cleaning.
Dust Fragile Items
Delicate household items require a gentler touch. Staff use clean rags to carefully wipe down surfaces, which not only removes dust but also highlights areas with heavy buildup that might need extra care. A flashlight is again useful here, especially for inspecting fragile decorative pieces, ensuring hidden cracks or weak points aren’t accidentally damaged during cleaning.
“Wash your items before you donate them. By removing stains, it makes the item more desirable and will sell quicker to help support the charity!” – City Thrift
During this stage, small repairs – like tightening screws or fixing wobbly legs – are often made. These little fixes help improve the item’s condition, making it more appealing and ready for its next home.
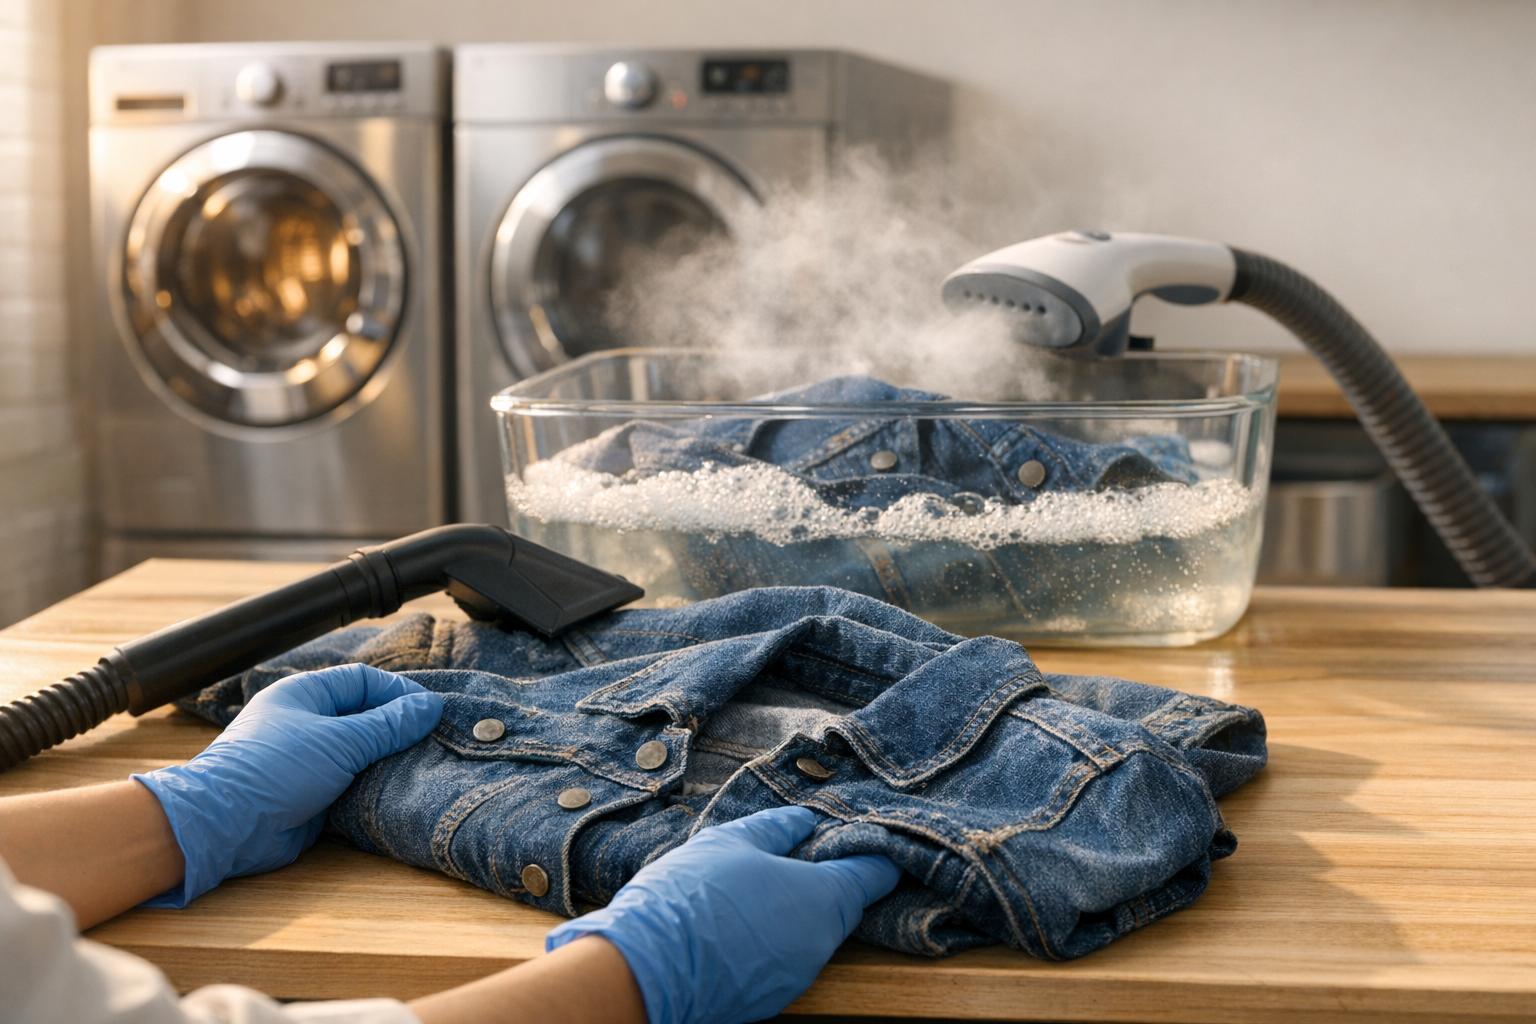
Step 3: Pre-Treat and Soak
After sorting and removing surface debris, the next step targets hidden stains, odors, and bacteria. Pre-treating and soaking washable items helps loosen buildup that regular washing might not fully remove, ensuring a deeper clean during the main wash.
Soak in Warm Water and Cleaning Solutions
For washable items, try a vinegar soak: mix 1 cup of white vinegar with 1 gallon of water and let the items soak for 30–60 minutes. This approach is a gentle yet effective way to tackle odors and stains without relying on harsh chemicals.
“Use a solution of 1 cup white vinegar per gallon of water as a pre-wash soak to help break down odors and stains. This natural method is safe for most fabrics.” – Martha Stewart
If there’s heavy buildup, consider laundry stripping. Use the hottest water safe for the fabric, then add washing soda, borax, and detergent. Soak the items for 24 hours, stirring every hour for the first six hours. To combat musty smells, sprinkle baking soda on dry garments before washing or include a commercial sanitizer like OxiClean in the soak.
Hand-Wash Delicate Items
Delicate fabrics like silk, wool, or lace need extra care. Submerge them in 1 gallon of cold water mixed with 1 teaspoon of mild detergent. Let them soak for several hours, gently agitating the fabric every hour.
“If you have fine delicates, like silk, they should only be hand-washed gently and hung dry.” – Allan Roosz, Owner, Splish Splash Laundry
Always check the care labels before soaking. Items labeled “Dry Clean Only” should bypass this step and head straight to a professional cleaner. For items that can be soaked, use the warmest water allowed – around 140°F – to help kill bacteria.
Step 4: Use Steam or Heat to Disinfect
After pre-treating and soaking, the next step is to harness the power of heat. High temperatures are incredibly effective at eliminating bacteria and germs, offering a chemical-free way to sanitize donated items.
Steam Clothing and Upholstery
Steam cleaning is a great option for fabrics, especially upholstery, mattresses, and other items that can’t go in the washing machine. By using high temperatures, steam cleaners disinfect surfaces without needing chemical cleaners. Dry steam cleaners are particularly handy, as they use minimal water, preventing deep saturation and allowing items to dry in just 15–30 minutes.
Before steaming, thoroughly vacuum the item to remove dust and debris. Use distilled water in your steamer to avoid mineral buildup, and always check care labels to ensure the fabric can handle heat. Testing a small, hidden area first is wise to check for any color bleeding or shrinkage.
“Natural fibers such as wool, cotton, or linen can shrink or lose color if too much heat or water is used.” – Dan Claps, CEO and co-founder of Voda Cleaning & Restoration
Keep the steam wand a few inches away from the fabric and move it steadily to avoid water marks. Be cautious around stitch lines, glued parts, or delicate embellishments, as heat and moisture can weaken these areas. If any moisture remains, blot it with a clean microfiber cloth, and use fans or open windows to speed up drying. This will also help prevent mold from developing.
Use High-Heat Laundry Cycles
For machine-washable items, high heat continues the disinfection process. Washing at 140°F with detergent is effective at removing dirt while killing germs and pathogens. However, always double-check the care labels – delicate fabrics like silk require cool water, and wool can shrink in hot cycles.
“Washing secondhand clothes with detergent at a temperature of around 140 degrees Fahrenheit will clean dirt from the clothes – and will also kill germs and pathogens.” – Martha Stewart
When washing secondhand items for the first time, keep them separate from your regular laundry to avoid cross-contamination. After washing, transfer them immediately to the dryer and set it to 140°F for an extra layer of sanitation. As Allan Roosz, Owner of Splish Splash Laundry, explains, “Many odor-causing germs die in the heat of the dryer“. However, be cautious with items featuring plastic embellishments – they can melt under high heat.
Step 5: Wash, Deodorize, and Dry
This final step ensures donations are thoroughly cleaned, refreshed, and ready for their new home. Proper washing, deodorizing, and drying techniques are essential to eliminate any lingering germs, odors, or moisture.
Final Wash
After using steam or high-heat treatments, a final wash guarantees complete cleanliness.
For machine-washable items, a two-step wash process works best. Start by washing items in hot water with vinegar, then follow up with a second wash using detergent. As Allan Roosz, Owner of Splish Splash Laundry, explains:
“Wash using vinegar in hot water by itself, then rewash using detergent.”
To further freshen fabrics, add ½ to 1 cup of white distilled vinegar during the rinse cycle. This not only helps eliminate odors but also softens the material. If you’re dealing with tough stains, refer back to the laundry stripping methods mentioned earlier. Always wash secondhand items separately during their first cycle to avoid cross-contamination, and go easy on detergent to prevent soap residue, which can irritate the skin.
Once the washing is complete, it’s time to focus on deodorizing and drying.
Deodorize and Air Out Furniture
Furniture requires special care to ensure it smells clean and stays mold-free. Start by sprinkling baking soda over the surface, letting it sit for a while to absorb odors, and then vacuum it off. For items with removable cushion covers, hang the covers in a shaded, airy spot – away from direct sunlight – and fluff the cushions while the covers are off to help release any trapped smells.
After cleaning, it’s important to fully dry and air out furniture. Place the pieces in a well-ventilated space or outdoors in the sun to ensure they’re completely dry and odor-free. Using fans or ensuring good airflow can speed up the drying process and help prevent mold. Keep storage areas at a relative humidity below 65% to stop mold spores from developing. Never store items while they’re still damp, as this can lead to mildew growth.
Conclusion
City Thrift’s five-step process ensures every donation is clean, safe, and ready for a second life. This careful approach not only protects shoppers but also helps extend the usefulness of donated goods. Clean items mean more funds to support City Union Mission’s programs, which tackle homelessness and poverty head-on. It’s a win-win: safer shopping and greater impact.
Sanitizing donations does more than just ensure safety – it gives these items a longer life and keeps them out of landfills. When donations arrive clean and are thoughtfully processed, it shows respect for everyone involved: the staff managing the items, the shoppers buying them, and the community members who benefit from the programs funded by the proceeds.
“Imagine donating clean clothes as an act of respect – for both the workers who handle these items and the eventual recipients.” – City Thrift
Every day, City Thrift offers thousands of quality items, and each sanitized donation directly supports City Union Mission’s vital programs. These include services for men, shelters for women and families, and youth-focused initiatives like Camp CUMCITO. By maintaining high standards for cleanliness, City Thrift ensures that your donations make the biggest difference possible.
FAQs
Why is it necessary to sanitize donated items before selling them?
Sanitizing donated items is crucial for making sure they’re clean, safe, and ready for their next owners. By removing germs, mold, dust, and pests, this step protects both the health of shoppers and the overall cleanliness of the store.
It also plays a big role in preserving the store’s reputation. A clean and well-maintained inventory shows the community that the store values quality and cares about its customers, fostering trust and loyalty.
How can I effectively remove odors from donated clothing?
To get rid of odors from donated clothing, start by letting the items breathe in a well-ventilated area. Next, wash them with your regular detergent, and for an extra boost, add 1 cup of white vinegar or ½ cup of baking soda to the wash cycle. If the smell persists, consider an additional rinse or using a steam-clean option. For particularly stubborn odors, switch to a fragrance-free detergent designed to tackle odors, or lightly spritz the fabric with a homemade spray made from diluted vinegar and a few drops of essential oil. These simple steps will leave your thrifted treasures smelling fresh and ready to wear.
Why is sanitizing donated items important for the community?
Sanitizing donated items is a key step to making sure they’re clean, safe, and ready to be resold. This process helps maintain the quality standards shoppers expect from thrift stores, giving customers the confidence to buy. Plus, the money earned through these sales goes straight into supporting community programs like shelters, meal services, and poverty relief efforts run by City Union Mission.
By focusing on sanitation, thrift stores not only safeguard public health but also amplify the value of every donation. It’s a win-win that keeps the cycle of giving strong and impactful.