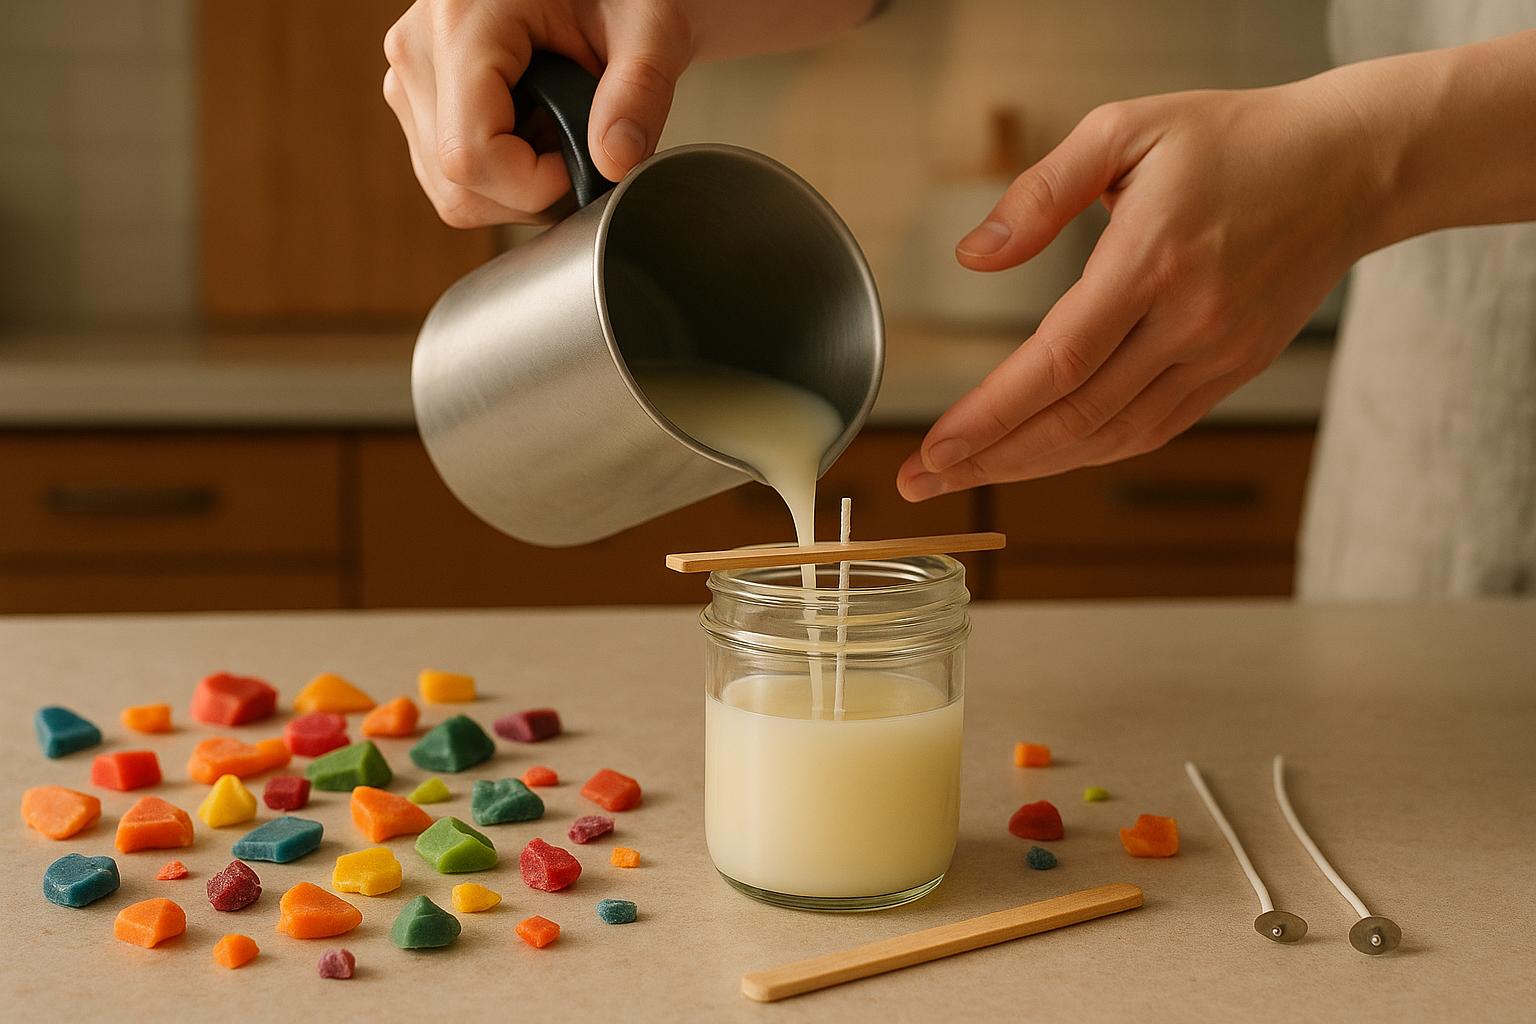
Reusing old candle wax is an easy way to save money and reduce waste. Every year, millions of pounds of wax end up in landfills, but leftover wax can be turned into new candles with just a few materials, like wicks and containers. This process is simple and works with most wax types, including paraffin, soy, and beeswax. Plus, it’s a chance to customize scents, colors, and container designs.
Key Steps:
- Gather Materials: Collect old wax, new wicks, and heat-resistant containers (e.g., mason jars or ceramic bowls).
- Remove Wax: Use methods like freezing, hot water, or a double boiler to extract leftover wax from old candles.
- Melt and Filter: Melt wax safely using a double boiler and strain out impurities for a clean finish.
- Assemble Candles: Secure wicks in containers, pour melted wax, and let it cool naturally.
- Customize: Add fragrance oils and dyes for a personal touch.
By following these steps, you can reduce waste and create functional, decorative candles for your home or as gifts.
Gathering Supplies and Setting Up Your Workspace
Before diving into the art of transforming old wax into fresh candles, it’s crucial to gather the right materials and set up a safe, organized workspace. Proper preparation not only makes the process smoother but also helps you avoid mishaps when working with hot wax. Here’s a breakdown of what you’ll need and how to get started.
Tools and Materials You Need
Start by collecting leftover candles or wax scraps, and remove any old wicks or debris. You’ll also need new wicks that match the size and type of candle you plan to make, along with containers or molds for shaping your creations.
For melting the wax, a double boiler is your best bet. This can be as simple as a heat-resistant bowl or pot placed over simmering water, which helps prevent overheating. A thermometer is handy for keeping an eye on the wax temperature, and some candle makers prefer specialized tools like a stainless steel melting pot with a hook or a bain-marie designed specifically for wax.
Keep a few essential tools within reach: scissors for trimming wicks, a wooden stick or pencil to hold wicks upright as the wax sets, and double-sided stickers or tape to secure the wicks to the bottom of your containers. To personalize your candles, consider adding color dyes and fragrance oils to the mix.
Using Thrifted Containers
Thrifted containers are a great way to breathe new life into everyday items while making your candles. According to the EPA, only 31% of glass gets recycled, which means a lot of it ends up in landfills. By repurposing thrifted items, you not only reduce waste but also create something unique for your home.
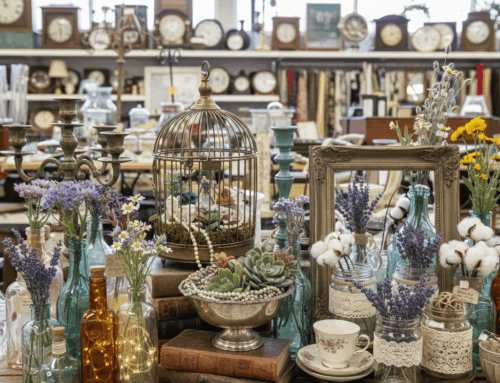
When shopping at places like City Thrift in Kansas City, look for containers made from heat-resistant materials such as ceramic, thick glass (like canning jars), cast iron, or metal tins. Teacups and coffee mugs from thrift stores can also work well, as long as they’re dishwasher-safe. Plus, your purchase supports City Union Mission’s efforts to address homelessness and poverty, adding a meaningful layer to your project.
Avoid using thin glass, wine glasses, vases, drinking glasses, plastic, or metal with painted interiors, as these materials can crack, melt, or release harmful fumes when exposed to heat. If you choose porous materials like concrete or terracotta, seal them with a waterproof sealant before use. Always clean and dry thrifted containers thoroughly, and test for leaks by filling them with water to ensure your candles burn safely.
Once your containers are ready, it’s time to focus on setting up a safe workspace.
Safety Precautions
Safety should be a top priority when working with hot wax. Choose a workspace that’s easy to clean, and protect your surfaces with newspaper, parchment paper, or old towels to catch any drips. Make sure all tools are clean and dry, as even a small amount of water can cause hot wax to splatter dangerously. Keep a damp cloth nearby for quick cleanups, but avoid direct contact between water and hot wax.
Work in a well-ventilated area, especially if you’re adding fragrances or handling large amounts of wax. Set your double boiler on a stable surface, away from the edge of your workspace, and never leave melting wax unattended. Keep an eye on the water level in your double boiler – too little water can cause overheating, while too much can create excess steam. Using a thermometer to monitor wax temperature helps prevent fire hazards and ensures the wax melts properly.
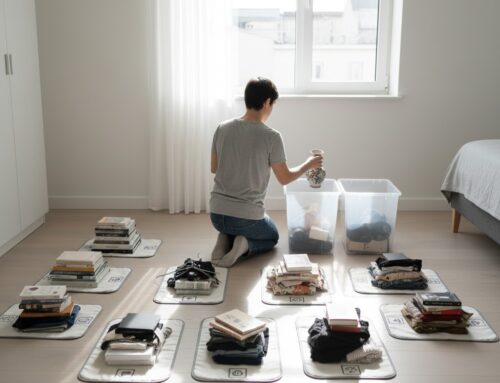
Finally, organize your materials so you can access everything easily without reaching over hot wax. A well-prepared workspace not only keeps you safe but also makes the crafting process more enjoyable and efficient.
Removing and Melting Old Wax
Now that your workspace is prepped, it’s time to tackle the old wax in your containers. The goal? Remove the leftover wax, melt it down, and get it ready for your next candle creation. Along the way, you’ll also filter out impurities to ensure your new candle turns out smooth and polished. Patience and the right methods are key here – you don’t want to damage your containers or waste usable wax.
How to Remove Wax
One of the easiest ways to start is with the freezer method. Pop your candle jars into the freezer for a few hours or overnight. The cold temperature makes the wax shrink and pull away from the sides of the container, making it easier to remove. Once frozen, use a butter knife or spoon to gently pry out the wax. This method works especially well for jars with straight sides and avoids the risk of heat damage.
If your jars are made of thick glass, the hot water method is a great option. Pour hot (but not boiling) water into the jar until it covers the wax. As the water cools, the wax will rise to the surface, making it easy to scoop out. Be careful with thin glass containers, though – sudden temperature changes could cause them to crack.
For a more hands-off approach, try the oven method. Preheat your oven to a low setting, around 150–200°F (65–93°C). Line a baking sheet with aluminum foil, place the jars upside down, and heat them for about 15 minutes. The wax will melt and drip onto the foil. Let the jars cool completely before handling them.
Another option is the double-boiler method. Place the candle jar in a heat-resistant bowl over a pot of hot water. The gentle heat will soften the wax, making it easy to remove. For small bits of leftover wax, a hair dryer or heat gun on a low setting can do the trick.
“Never use a knife or sharp tool to remove wax, as it could damage the integrity of the glass or break the container.”– National Candle Association
Once the wax is out, wash the jars thoroughly with warm, soapy water to remove any residue. This ensures your containers are clean and ready for reuse.
Melting Wax Safely
Now that you’ve collected your wax, it’s time to melt it down. The safest and most reliable method is the double-boiler technique. Place a heat-resistant bowl or pot over a pan of simmering water, ensuring the bottom of the bowl doesn’t touch the water. Add your wax pieces and keep the heat low throughout the process.
Different wax types melt at different temperatures, typically ranging from 100°F to 145°F. In December 2024, Martha Stewart highlighted the double-boiler method as a safe way to melt and reuse candle wax, emphasizing that only similar wax types should be combined to ensure consistent burning.
Stir the wax occasionally with a wooden stick or spoon to help it melt evenly. Keep a thermometer handy to monitor the temperature, and never leave the melting wax unattended. If you notice any smoking or overheating, remove it from the heat immediately.
“Leftover wax from a candle that can no longer be burned can be removed from the jar and put into a wax melter for homemade melts.”– Kristen Pumphrey, founder of P.F. Candle Co.
Don’t forget to maintain the water level in the double boiler. Letting the water run low could cause the wax to overheat, while too much water might produce unwanted steam.
Filtering Out Debris
Before pouring your melted wax into molds, you’ll need to filter out impurities like old wick fragments, dust, or dirt. This step is essential for creating clean, polished candles.
Set up a fine mesh stainless steel strainer over a clean container and line it with cheesecloth, an old cotton t-shirt, or a coffee filter. Slowly pour the melted wax through the strainer to catch any debris. Take your time to avoid splashing or spilling.
If the wax is particularly dirty, you might want to pre-filter it. Wrap the wax pieces in cheesecloth before melting, and then strain them again after melting. For the cleanest results, you may need to filter the wax multiple times, starting with a coarse strainer and finishing with a finer filter like a coffee filter.
After filtering, clean your strainer by rinsing it with boiling water to remove any wax residue. This ensures it’s ready for your next project.
With your wax now clean and ready to go, you can move on to preparing your wicks and molds in the next step.
Assembling the Candle
Now that you have a clean workspace and your filtered wax ready, it’s time to bring everything together. Proper wick placement and careful wax pouring are key to ensuring your candle burns evenly and looks great.
Preparing Wicks and Molds
Positioning the wick correctly is crucial for an even burn. Whether you’re using a glass container, PVC mold, or silicone mold, your main goal is to center the wick and keep it stable throughout the process.
For glass jars and containers, start by selecting the right wick size based on the candle’s diameter. Flat wicks work well with paraffin and vegetable waxes, while round wicks are better suited for beeswax. Cut the wick so it extends about 1 inch above the container’s rim. To keep it centered, use a wick holder – these handy tools keep the wick taut and in place. If you don’t have one, you can improvise with pencils or chopsticks placed across the top of the container, securing the wick in the middle with tape or string.
If you’re working with PVC molds, the process is a bit different. Cut the wick at an angle to make threading easier, then slide it through the pre-drilled hole at the bottom of the mold. Leave about 1 inch of excess wick on both ends. Seal the hole with Blu-Tack or mold sealer to prevent leaks during pouring. Use a wick holder at the top to keep the wick centered and tight.
Silicone molds are more flexible but require careful handling. If the mold has a wick hole, use a wicking needle to thread the wick through. For molds without a pre-made hole, you’ll need to create one at the center. Alternatively, you can insert a skewer into the wax after pouring to make a pilot hole for the wick.
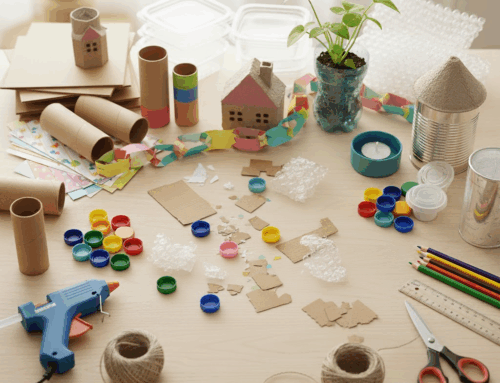
For a creative and eco-friendly touch, consider using thrifted containers like teacups, mason jars, or ceramic bowls. Just make sure they’re heat-resistant and won’t crack under temperature changes.
Pouring and Setting the Wax
Temperature control plays a big role in achieving a smooth, flawless finish. Preheat your containers to 90–100°F (32–38°C) to help the wax adhere properly, and pour the wax when it’s between 120–140°F (49–60°C). Avoid heating the containers above 104°F (40°C).
Pour the wax slowly and steadily from a low height to minimize air bubbles. Once poured, gently tap the container to release any trapped air.
During the cooling phase, space your candles about 4–5 inches (10 cm) apart on a cooling rack. This prevents direct contact with solid surfaces, allowing for even cooling and reducing the chance of imperfections like flat spots. Let your candles cool naturally at room temperature – don’t rush the process by putting them in the fridge, as rapid cooling can lead to cracking.
If you notice surface flaws after the wax has set, you can fix them by re-pouring a thin layer of melted wax or smoothing them out with a heat gun. Once the wax has fully cooled and any imperfections are addressed, you’re ready for the final steps.
Trimming and Final Steps
With the wax set and cooled, it’s time to finish your candle. Start by trimming the wick. Use sharp scissors or wick trimmers to cut it to about 1/4 inch above the wax surface. This helps the candle burn cleanly, reducing smoke and flickering.
For candles made in molds, carefully remove them once they’ve completely cooled. PVC molds usually release the candles easily, while silicone molds may need a bit of gentle flexing. Remove any Blu-Tack or sealing material from the base, and trim the bottom wick flush with the wax surface. Smooth out any rough edges with a craft knife or fine sandpaper.
Proper candle care is essential for extending its life and maintaining its fragrance. Trim the wick every 4 hours of burn time, and allow the candle to cool for a couple of hours between uses.
“Allowing it to cool and solidify between burns – ideally for a couple of hours – is key to maximizing its fragrant life.” – Anthropologie
Your handmade candle is now ready to light and enjoy. There’s something deeply rewarding about turning simple materials into a beautiful, functional item that brings warmth and light to your space.
Customizing and Troubleshooting Your Candles
Personalizing your candles with scents and colors can make them truly yours, while knowing how to fix common issues ensures they burn beautifully.
Adding Fragrance and Colors
When it comes to fragrance, precision is key. Use 5%–10% fragrance oil for candles and 10%–15% for wax melts. Adding too much oil can cause it to separate and rise to the surface, so stick to these ratios. Timing is just as important – add fragrance oil when the wax reaches about 185°F (72°C–75°C) [35,36]. For accuracy, weigh the oil using a scale and stir gently for two minutes to ensure it blends thoroughly [35,36]. The way your candle smells – both unlit (cold throw) and while burning (hot throw) – depends on factors like container type and room size.
For color, add candle dye when the wax is at its hottest, around 185°F. This ensures the dye melts completely. Liquid dyes work well for bold colors, while dye flakes or blocks are better for softer tones. Always use dyes made specifically for candles and test on small batches to confirm the final shade. Keep a record of your color measurements so you can replicate successful results later. If you’re layering colors, let each layer cool completely before adding the next, and pour at no higher than 140°F to avoid colors bleeding together. Lastly, let your candles cure for at least three days – preferably one to two weeks – to allow the fragrance to fully bind [35,36].
Once your candles are scented and colored to perfection, you can even repurpose leftover materials for future projects or community donations.
Reusing Leftover Materials
Excess containers can find new life through donations to City Thrift (https://www.citythrift.org), which supports programs addressing homelessness and poverty through City Union Mission. Their Kansas City-area stores accept items like glass jars and containers, ensuring your materials contribute to a meaningful cause. City Thrift is also a treasure trove for unique containers – think vintage teacups, glass bowls, or ceramic vessels perfect for your next candle project, all at budget-friendly prices.
Leftover wax doesn’t have to go to waste, either. Store it in clean containers or mold it into small blocks for easy melting later. Even small amounts of wax can be combined to create new colors and scents, giving you endless possibilities for future creations.
Fixing Common Problems
Even with careful crafting, candles can sometimes misbehave. Here’s how to tackle a few common issues.
Tunneling, where the candle burns down the center and leaves wax around the edges, is a frequent problem. Prevent it by letting your candle burn long enough on the first use to create a full melt pool that reaches the edges of the container [42,43]. A good rule of thumb: burn your candle for one hour per inch of diameter each time you light it. If tunneling has already occurred, you can fix it by wrapping the top of the candle with foil, leaving a small opening in the center, or gently warming the wax with a hair dryer. For more persistent cases, place the candle in an oven-safe container at 175°F (80°C) for 5–10 minutes [42,45].
Soot buildup often happens when the wick is too long or the candle is burning in a drafty spot. To avoid this, trim the wick to ¼ inch before each burn and keep candles away from vents, fans, or open windows [41,42].
Cracks or surface imperfections usually result from rapid temperature changes or using lower-quality materials. To minimize these issues, use heat-resistant containers specifically made for candle making, and avoid moving candles between hot and cold environments too quickly.
High-quality materials – wax, wicks, and fragrance oils – play a big role in how your candle performs [41,44]. Starting with good components not only prevents many common problems but also ensures your handmade candles burn as beautifully as store-bought ones.
Practice Eco-Friendly Candle Making
Transforming old wax into new candles does more than just save you money – it also helps reduce waste and keeps materials like paraffin, soy, and beeswax out of landfills. By following the safe, straightforward steps outlined earlier, you can repurpose leftover wax into beautiful, functional creations. Just make sure to let your freshly made candles cure for at least 24 hours before lighting them.
This process isn’t just practical – it’s a chance to get creative. You can play around with different scents, colors, and container styles, turning what might have been discarded into something uniquely yours. For example, those empty candle jars you’ve been holding onto can become charming homes for your new candles.
If you’re looking for budget-friendly containers, check out City Thrift (https://www.citythrift.org). They offer an array of unique options perfect for candle making. Plus, donating any extra materials or finished candles is a great way to give back, as it supports City Union Mission’s work addressing homelessness and poverty.
Eco-friendly candle making is a fun and rewarding way to reduce waste while adding a personal touch to your home décor. With time and practice, you’ll develop a knack for mixing fragrances and colors, creating candles that are not only stylish but also reflect your commitment to sustainability.
FAQs
How can I make sure my homemade candles burn evenly and don’t tunnel?
To make sure your homemade candles burn evenly and steer clear of tunneling, let the wax melt to the edges during the very first burn. This step is key for creating a smooth, even burn pattern. Pick the right wick size for your container so the flame is strong enough to melt the wax uniformly. Before each burn, trim the wick to about 1/4 inch – this helps minimize soot and keeps the flame steady.
If you notice the wax isn’t melting evenly, try wrapping aluminum foil around the top of the candle. This traps heat and helps smooth out the wax surface. Also, avoid burning your candle for less than 1–2 hours at a time. Shorter burns can lead to tunneling, which makes it harder for your candle to burn properly in the future.
How do I safely add fragrance and color to my recycled candles without affecting their quality?
To safely infuse your recycled candles with fragrance and color, begin by melting the wax completely. Opt for fragrance oils and dyes specifically made for candles – these are formulated to mix seamlessly with the wax and ensure safe burning. Add them slowly, stirring well to distribute the scent and color evenly. Start with small amounts to fine-tune the intensity of the fragrance and the richness of the color.
Steer clear of using perfume oils or additives not intended for candles, as these can lead to uneven burning or pose safety risks. Working in small batches allows you to make precise adjustments, helping you maintain the quality and consistency of your candles.
What are the safest and most effective containers for making candles from recycled wax?
When making candles with recycled wax, opt for heat-resistant containers such as oven-safe glass, ceramic bowls, cast iron vessels, or pressure canning jars. These materials can withstand high temperatures, minimizing the chance of cracking or breaking during the process. Steer clear of plastic or other materials that aren’t heat-resistant – they can melt or create safety hazards.
Make sure your containers are thoroughly cleaned, completely dry, and free of any cracks before you begin. This ensures a safer experience and helps your candles look their best!

